The store will not work correctly when cookies are disabled.
This is a demo store. No orders will be fulfilled.
Cookie
This website requires cookies to provide all of its features.
For more information on what data is contained in the cookies,
please see our
Privacy Policy page. To accept cookies from this site, please click the
Accept button below.
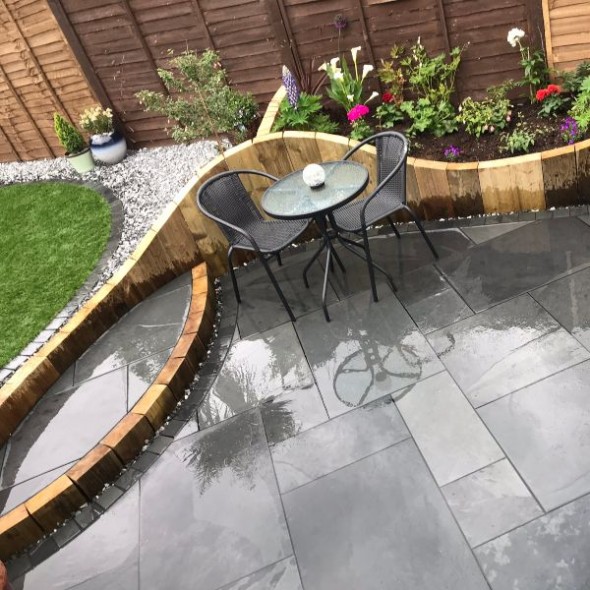
Installing paving slabs of any kind requires planning, the correct materials and understanding the best practices of paving installation.
The below is a quick guide to help anyone looking to lay paving slabs a good starting point.
Note: This is informative only and you should seek expert advice from qualified landscapers.
Before you start
PPE & safe lifting: use dust-class extraction for cutting.
Legality: keep the finished surface ≥ 150 mm below any DPC.
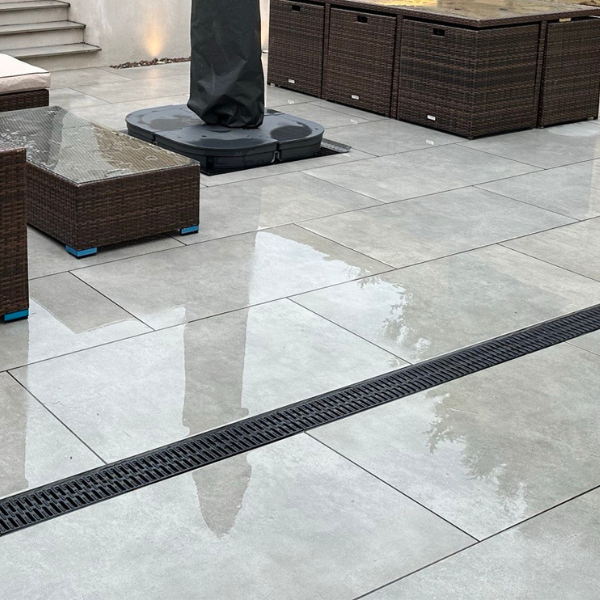
Falls: set gradients of 1 : 60 (~17 mm per metre) away from property; discharge to channels/planters/verges that drain freely.
Utilities check: mark cables, gas and water before digging.
Carry out a simple risk assessment and method statement. If excavating, dig small test holes or use cable-avoidance tools and visually check for services.
Tools & PPE
Shovel
Pick axe
Rubber mallet / dead blow
String line & pins
Spirit level
Pointing trowel
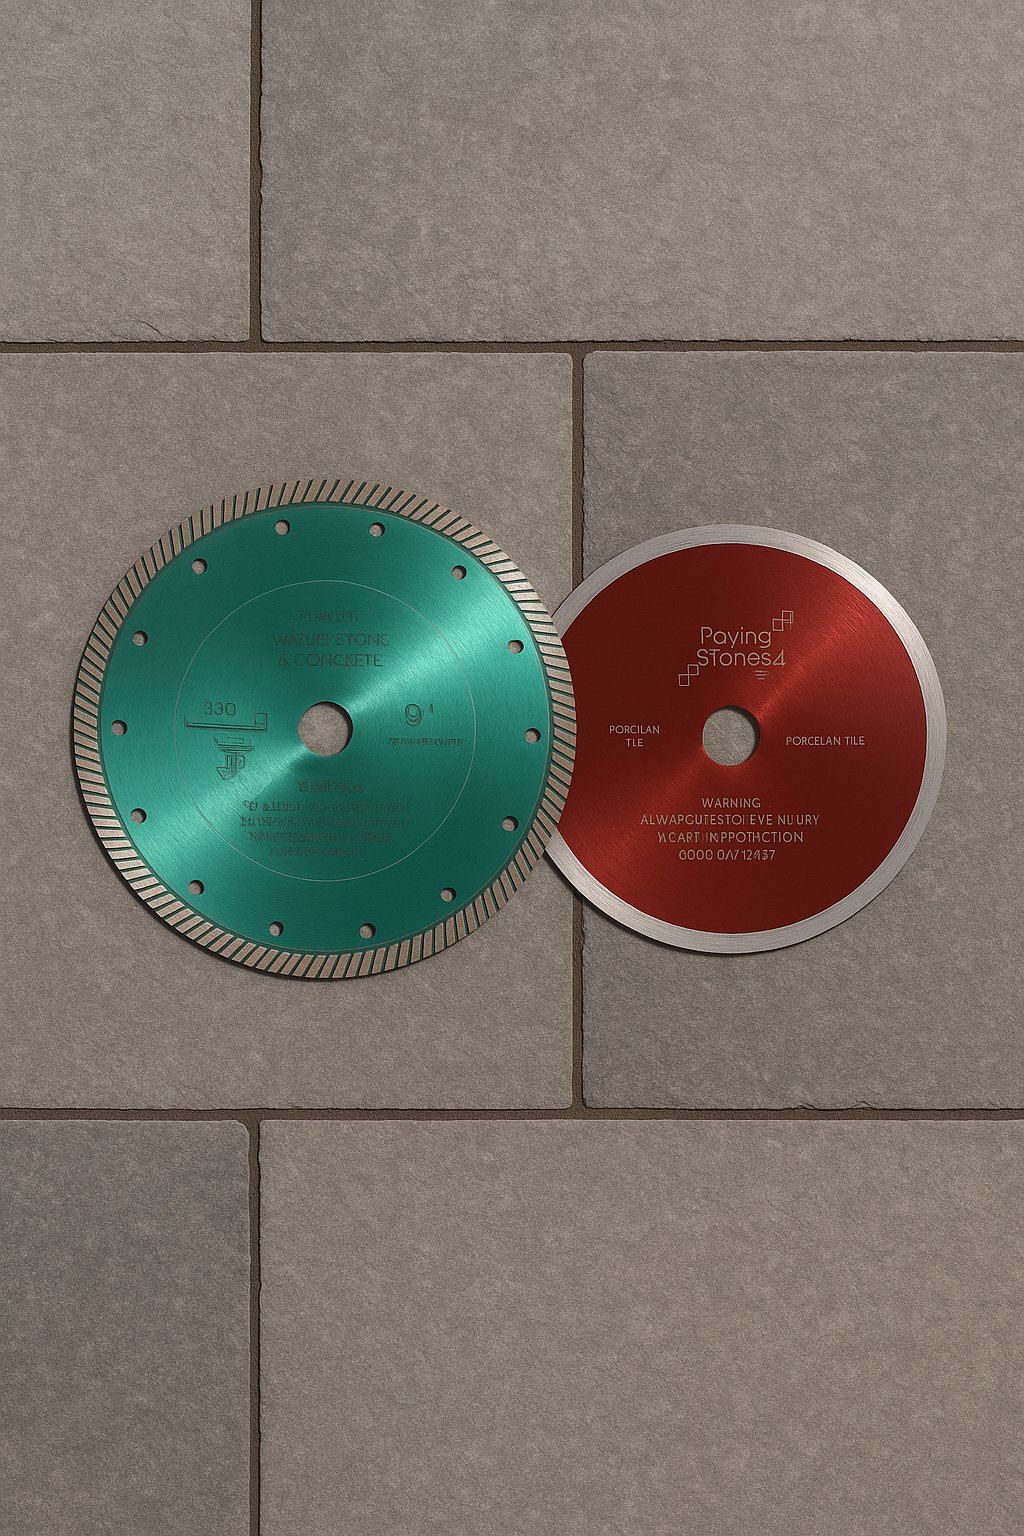
Angle grinder / wet saw
Compactor plate
PPE
Materials
DTp Type 1 sub-base
Geotextile (non-woven) separation membrane
Full-bed mortar (sand & cement)
Porcelain primer (bonding slurry)
SBR primer/slurry (natural stone)
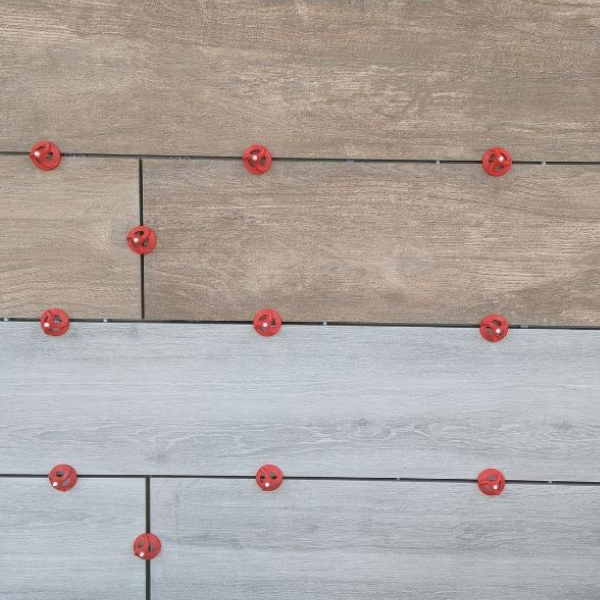
Spacers (5 mm for porcelain)
Resin/polymeric jointing compound
1Planning & drainage
Finished level: keep at least 150 mm below the DPC. For patios next to a house this equates to excavating to roughly 300 mm below the DPC to allow for the build-up beneath the finished surface.
Falls: set 1 : 60 (~17 mm/m) to suitable drainage points.
Utilities: identify and mark services before digging.
2Sub-grade, depths & working area
Patios/paths: dig to suit 100 mm Type 1 + 30–40 mm mortar + slab thickness (~150 mm total below finished level).
Driveways / wet ground: allow 200 mm for the sub-base.
Working room: over-cut the footprint by 150–200 mm for tidy edges. Compact the sub-grade with static or vibratory equipment.
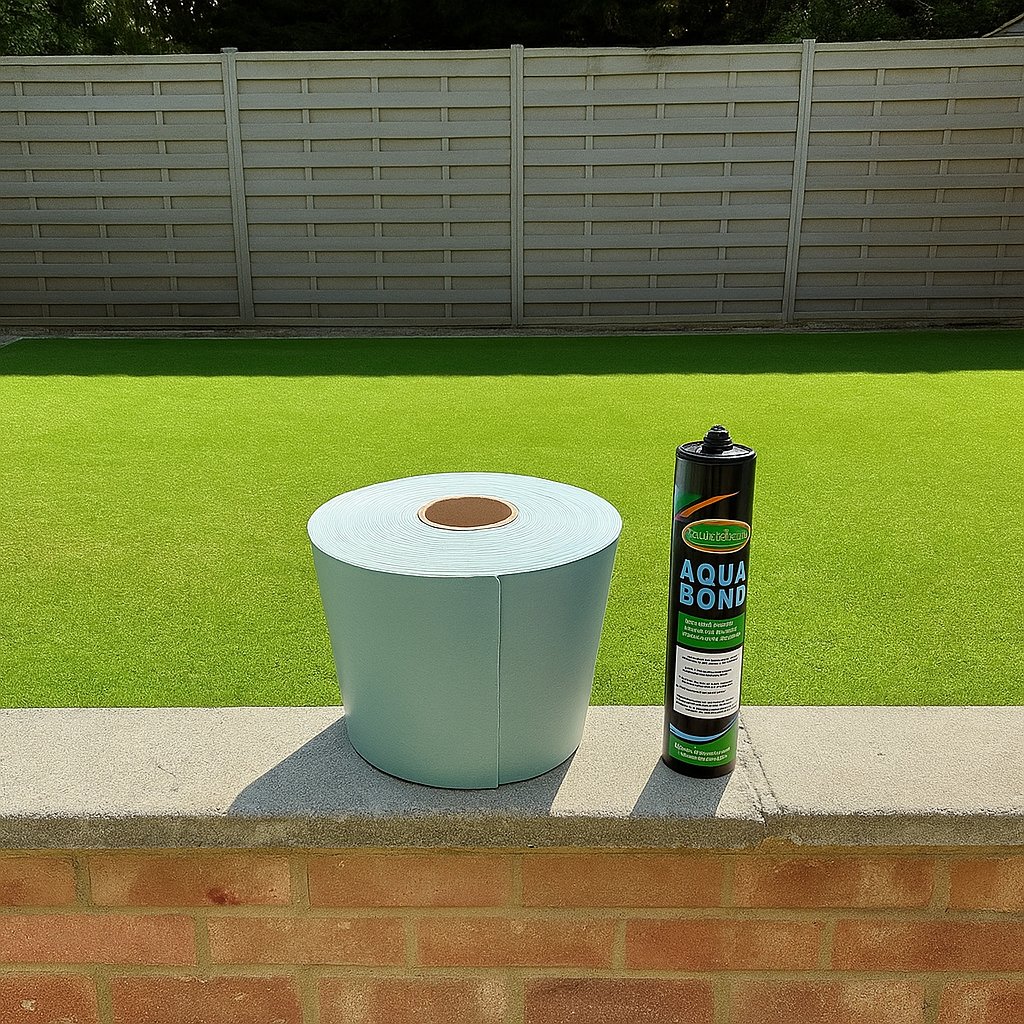
Geotextile: roll out non-woven membrane to prevent sub-base migrating into the sub-grade (reduces settlement).
Flexible sub-base: Type 1 at 100–150 mm, compacted in ≤ 70 mm lifts (rule-of-thumb two layers; ~5 plate-compactor passes per lift). On poor soils, use the membrane beneath the Type 1.
Rigid sub-base option: lean-mix concrete ~100 mm with DPM at this stage. Set edge restraints before bedding.
4Prepare the full-bed mortar (laying course)
Full wet bed (best on Type 1 sub-base): standard sand/cement mortar prepared to a wet consistency.
Material
Mix (PSD standard)
Compacted thickness
Notes
Porcelain
4 : 1 sharp sand / crushed-rock fines : OPC
30–40 mm
Flat, even bed; no trowel furrows; workable ≤ 2 hours
Natural stone
4 : 1 (avoid builders’ sand; use 0–6 mm crushed rock)
30–40 mm
Full contact — no spot-/ring-bedding (avoids reflective staining)
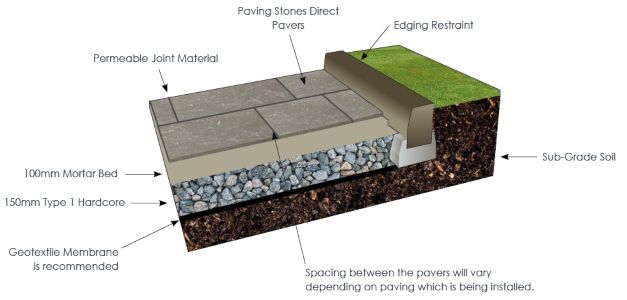
Installation diagram
Illustration of full-bed mortar on a Type 1 sub-base with geotextile.
Open all packs before starting so colours blend naturally across the area. All products may have slight colour variations. For porcelain, ensure all goods are the same batch before laying.
Natural stone: if using multiple packs, mix them together to achieve an even blend.
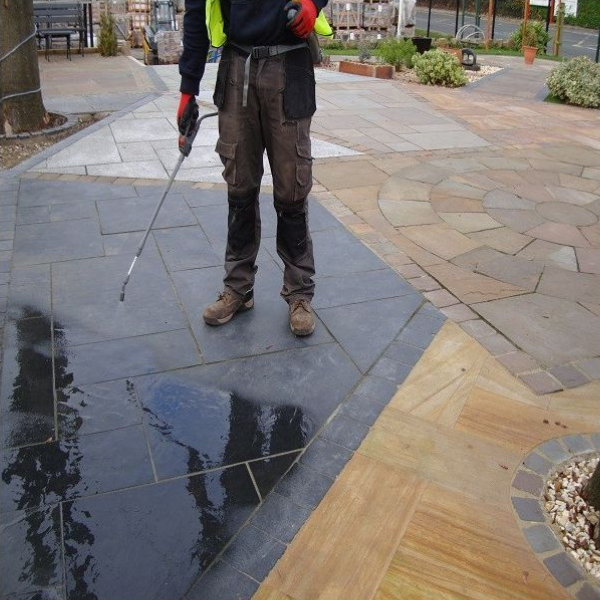
9Cleaning & curing
Clean as you go: wipe fresh mortar with clean water; never use acid cleaners.
Curing: foot traffic 24 h; heavy loads 48 h.
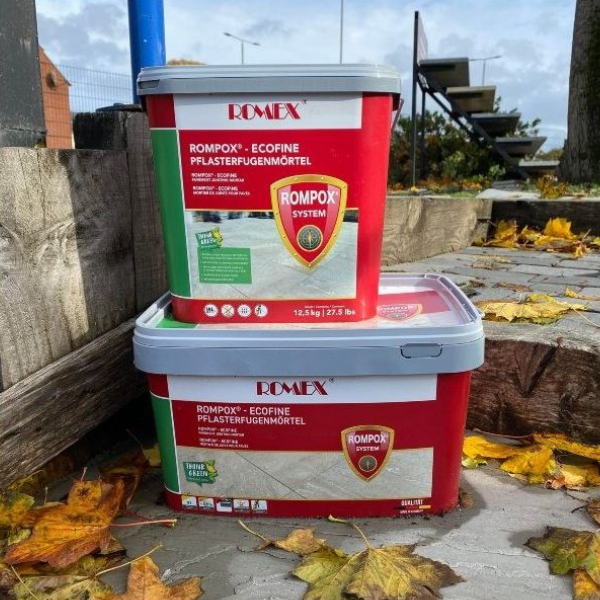
10Jointing / grouting
Only when the bed is firm; joint depth ≥ 20 mm.
Sub-base match: On permeable/flexible builds, use a porous polymeric jointing compound. On rigid builds, a non-porous option such as Flowpoint is typical and best left to experienced installers. Keep paving clean and free of slurry; use plenty of clean water and remove surplus resin on completion.
Thin-bed adhesive — best practice on concrete. This substitutes sand-cement for an outdoor-rated polymer-modified cement. Common in hotter climates outdoors but not a standard practice in the U.K.