The store will not work correctly when cookies are disabled.
This is a demo store. No orders will be fulfilled.
Cookie
This website requires cookies to provide all of its features.
For more information on what data is contained in the cookies,
please see our
Privacy Policy page. To accept cookies from this site, please click the
Accept button below.
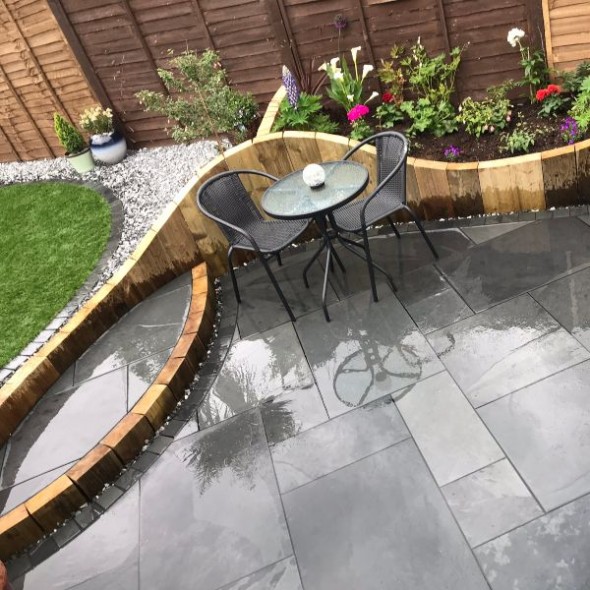
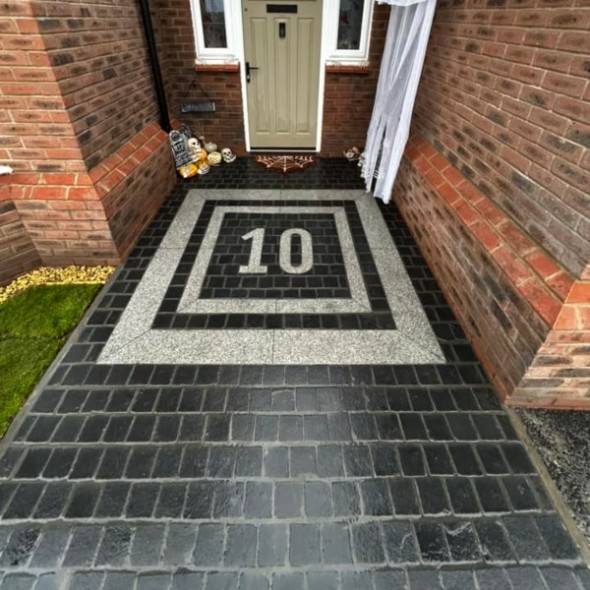
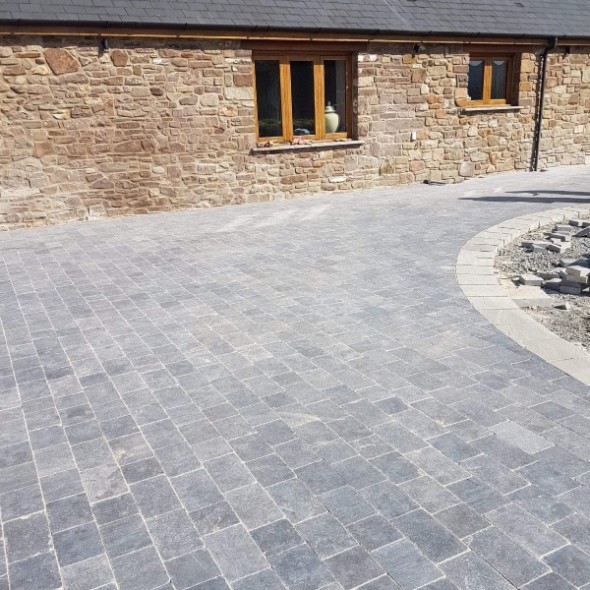
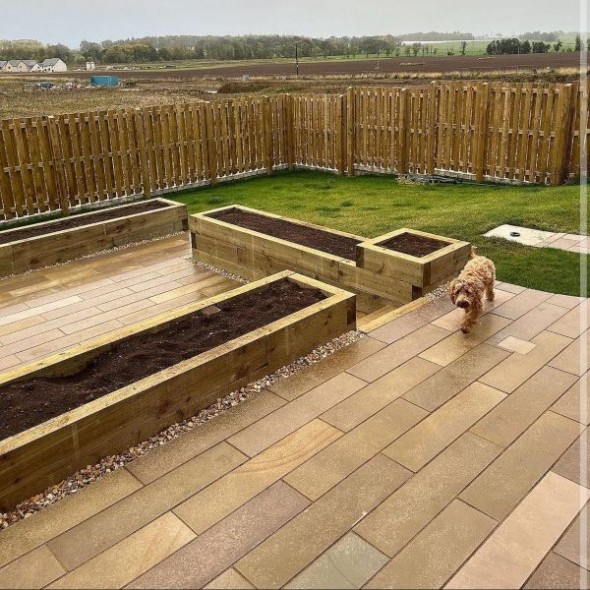
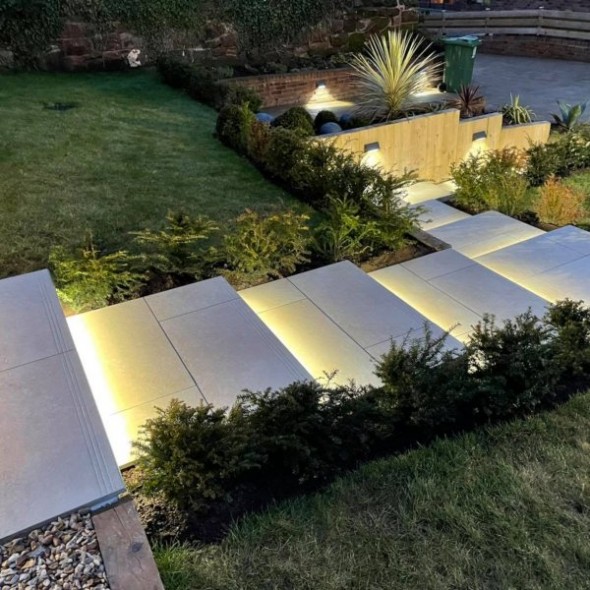
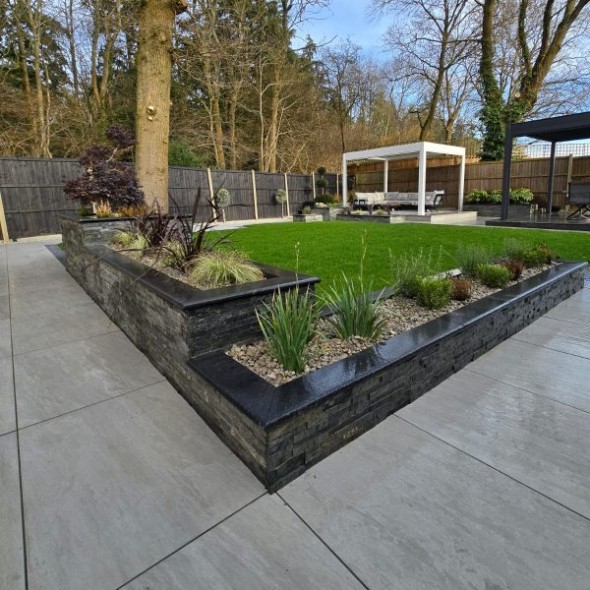
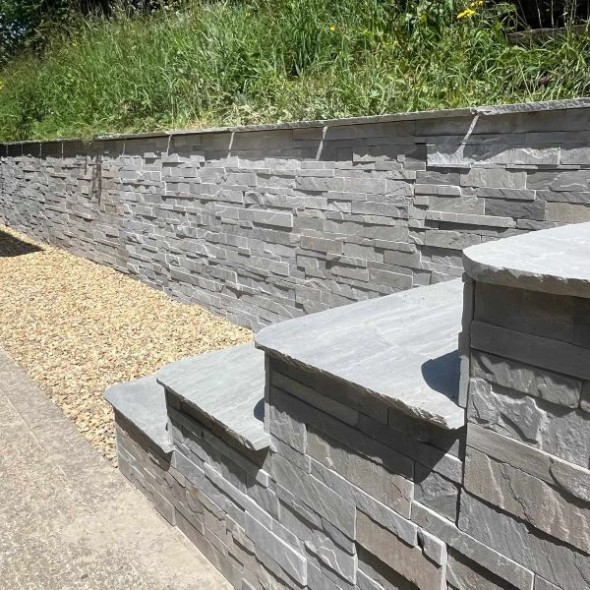
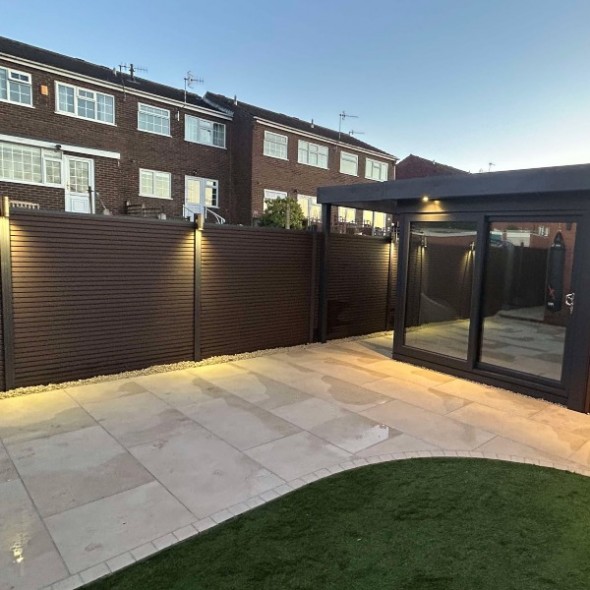
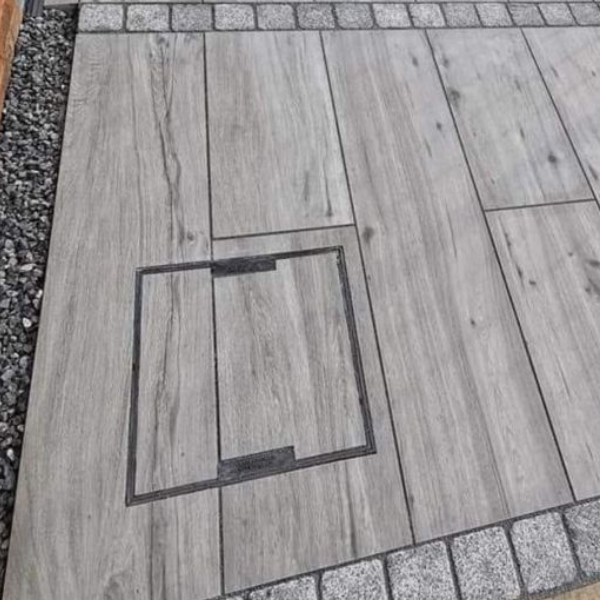
Laying block paving for driveways, patios and paths needs careful planning, the right base build-up and an eye for pattern.
The sequence below mirrors BS 7533 good practice and explains where porcelain block paving and natural-stone setts differ.
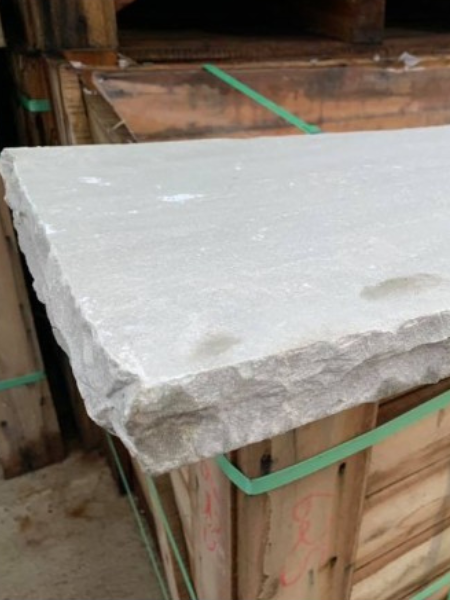
Both examples here assume blocks around 50 mm thick.
Note: This is informative only and you should seek expert advice from qualified landscapers.
Before you start
PPE & safe lifting: use dust-class extraction when cutting.
Legality: keep the finished surface at least 150 mm below any DPC.
Falls: design gradients of 1 : 60 (about 17 mm per metre) away from buildings and towards suitable drainage.
Utilities check: mark any buried services before you dig.
Carry out a simple risk assessment and method statement. For excavations, dig small trial holes or use cable-avoidance tools and visually check for services.
Tools & PPE
Shovel
Pick axe or digging bar
Rubber mallet / dead blow hammer
String line and pins
Spirit level and straight edge
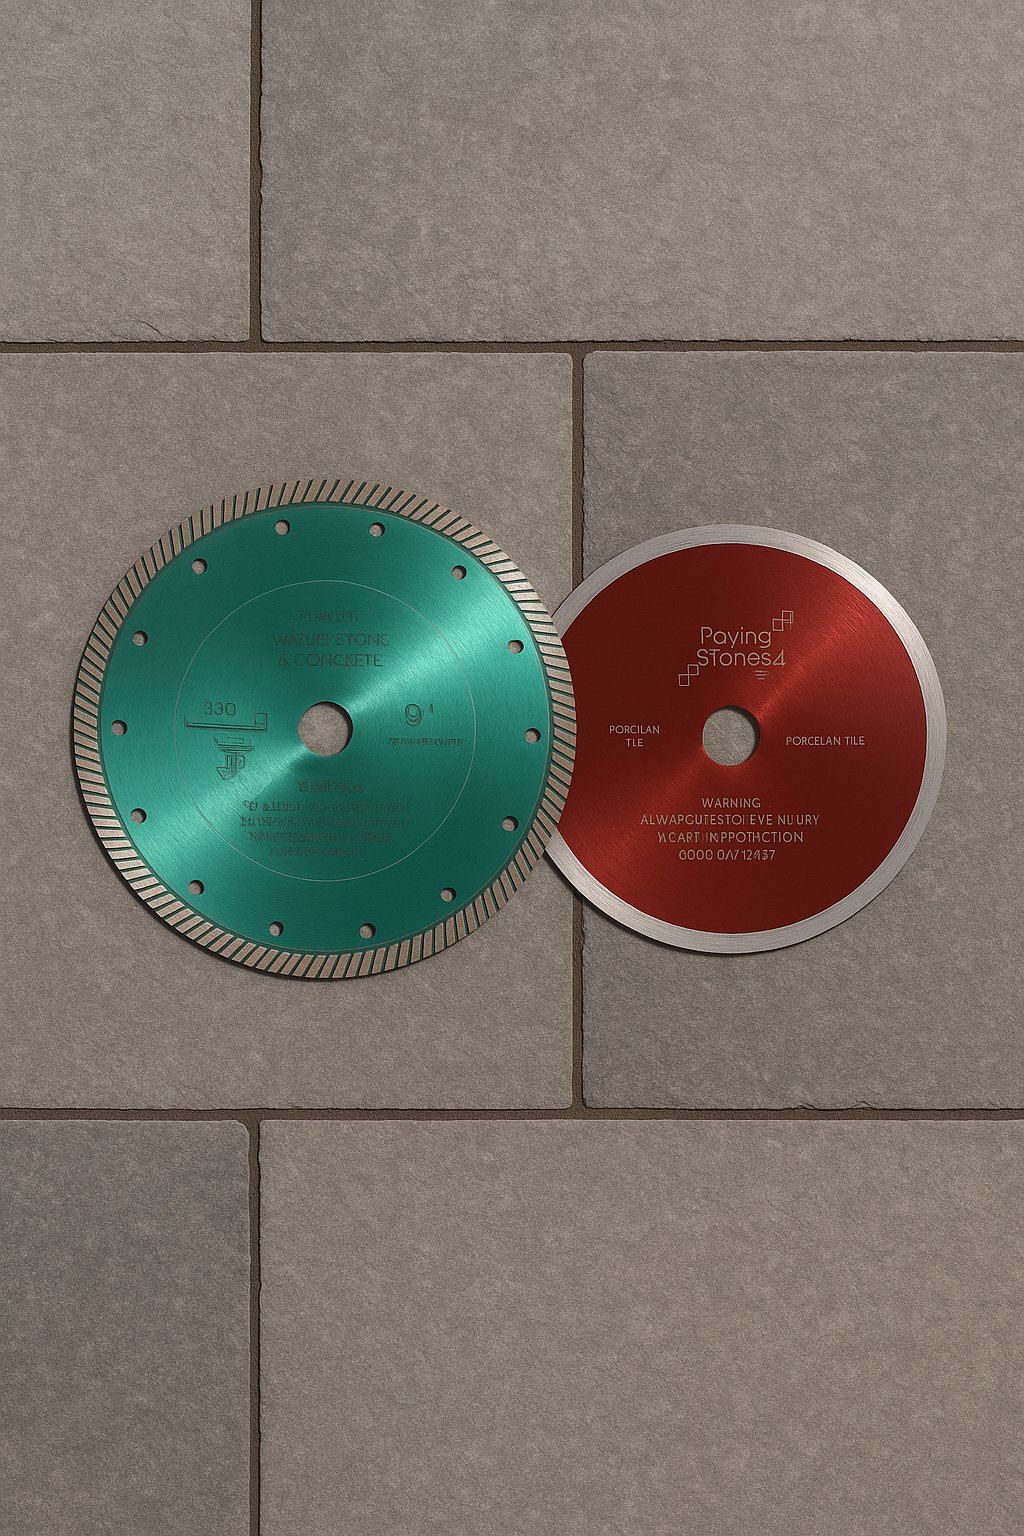
Block splitter or disc cutter
Plate compactor (rubber mat for porcelain)
Trowels and float
Bucket, mixing equipment
PPE (gloves, eye, hearing, dust mask, boots)
Materials
DTp / MOT Type 1 sub-base
Geotextile (non-woven) separation membrane
Concrete for edge restraints
Sharp/grit sand for unbound bedding
Cement and sharp sand for bound bedding (porcelain)
Porcelain bonding slurry / primer
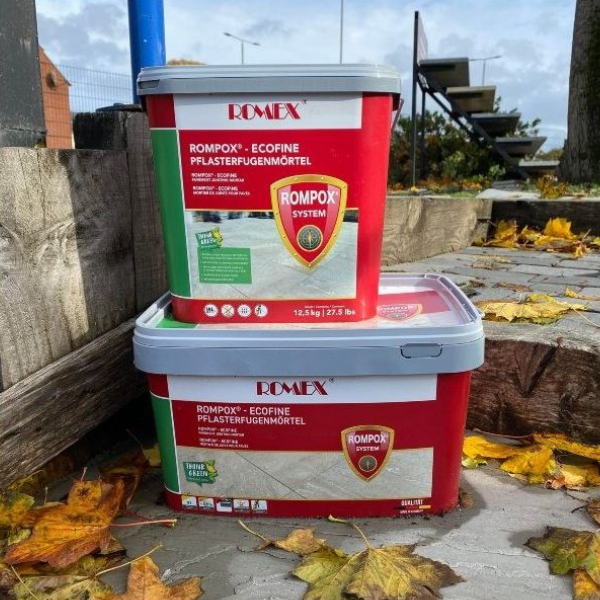
Flowable grout or resin (porcelain blocks)
Kiln-dried jointing sand (natural-stone setts)
1Planning, levels and set-out
Finished level: plan the driveway or path to finish at least 150 mm below any DPC. For domestic driveways this usually means the excavation sits 200–250 mm below the planned surface to allow for sub-base, bedding and block thickness.
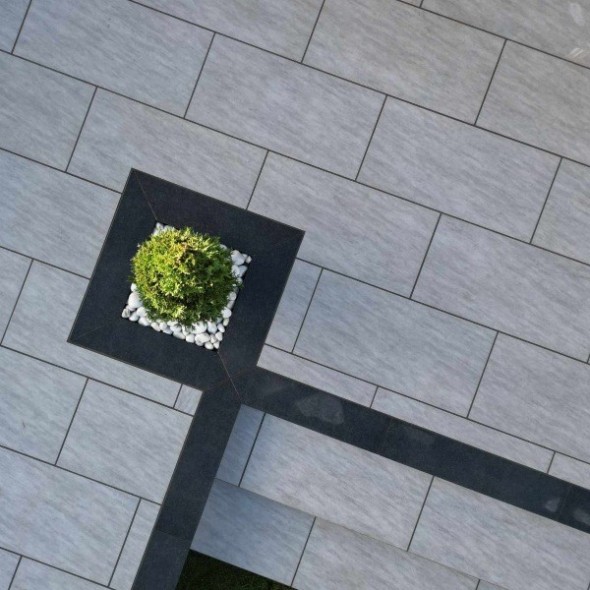
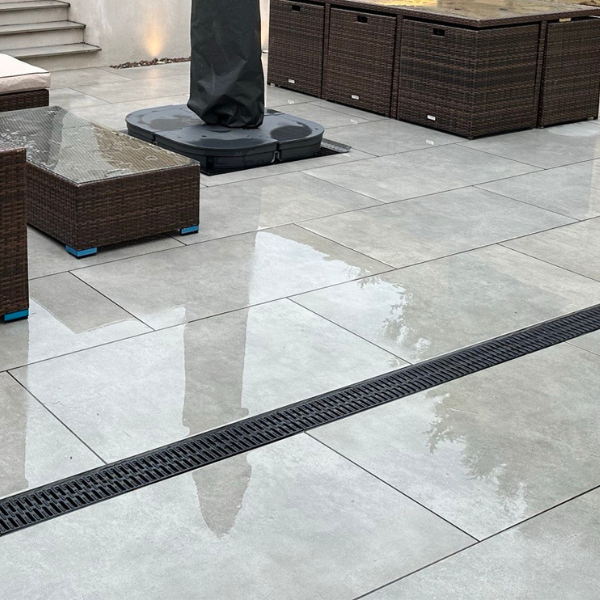
Falls: set falls of 1 : 60 (roughly 17 mm per metre) away from buildings and towards channels, drains, planters or gravel that can take the water.
Set-out: use string lines to mark the finished edges and any patterns or bands. Allow for a 150–200 mm working strip around the area for edge restraints and compaction.
2Excavation, sub-grade and working area
Depth: excavate 200–250 mm below the planned finished level for a typical domestic driveway. On softer ground or for heavier vehicles you may need extra sub-base depth in line with engineer or installer advice.
Working room: over-cut the footprint by 150–200 mm on all sides so you can form neat edge restraints and compact the sub-base properly.
Sub-grade: remove soft spots and organic material. Compact the exposed sub-grade with suitable compaction equipment so the base is firm before you start building up.
Sub-base: lay 100–150 mm of MOT Type 1 across the whole area and at least to the outside of the planned block line. Compact in layers no thicker than about 75 mm, making multiple passes with the plate compactor on each layer.
Membrane: on weaker or mixed ground, place a non-woven geotextile between the sub-grade and Type 1 to reduce the risk of the sub-base punching into the soil.
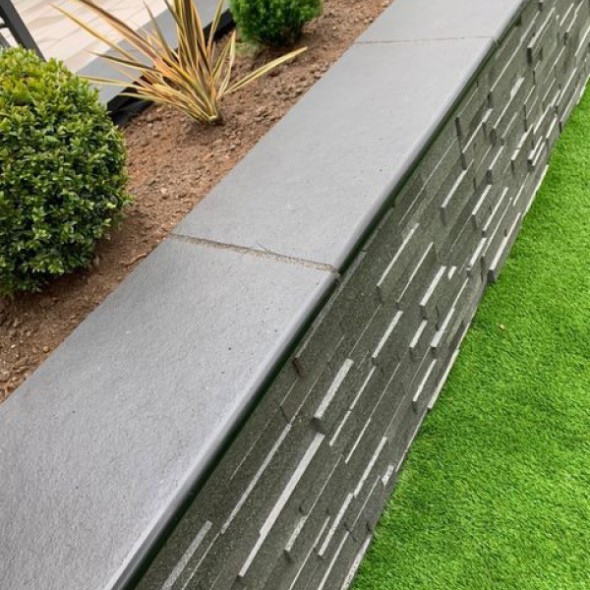
Edge restraints: install kerbs or larger blocks on a concrete bed and haunching to create a rigid border around the area. Set these to line and level before bedding the paving so the blocks can be laid neatly up to them.
4Bedding course – porcelain blocks vs natural-stone setts
Prepare the bedding layer so it suits the type of block you are laying.
Material
Mix (PSD standard)
Compacted thickness
Notes
Porcelain block paving (50 mm)
4 : 1 sharp sand : cement mortar (bound bed)
35–40 mm
Full, even support; prime undersides with bonding slurry immediately before laying
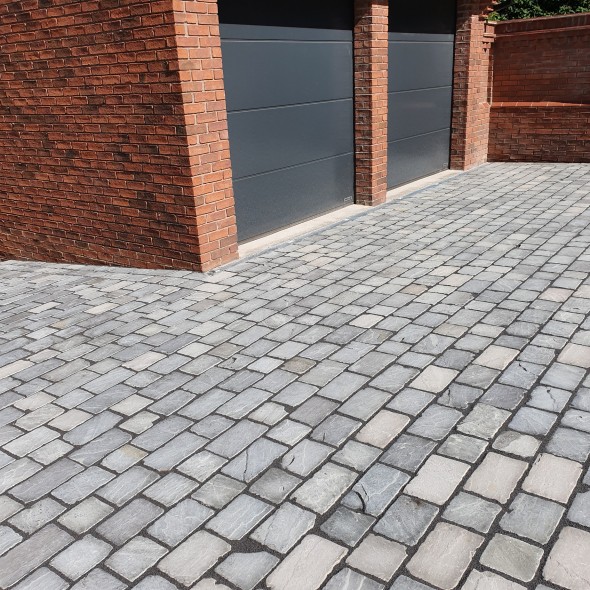
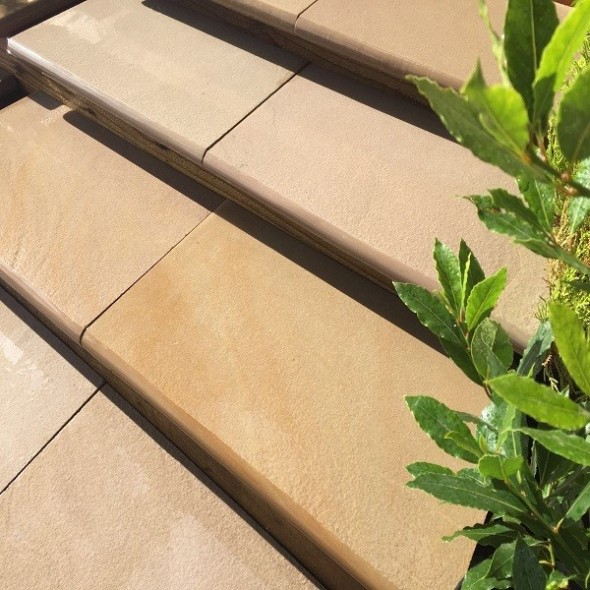
Natural-stone setts (50 mm)
Grit / sharp sand, unbound
25–40 mm after compaction
Flexible bed; moisture-balanced sand helps interlock the setts
Porcelain: mix a workable mortar and spread as a consistent, compacted layer. Avoid ridges or hollows in the bed.
Natural stone: screed and lightly compact the grit-sand bed to level, keeping the surface slightly proud so it can be adjusted while laying.
5Laying the blocks
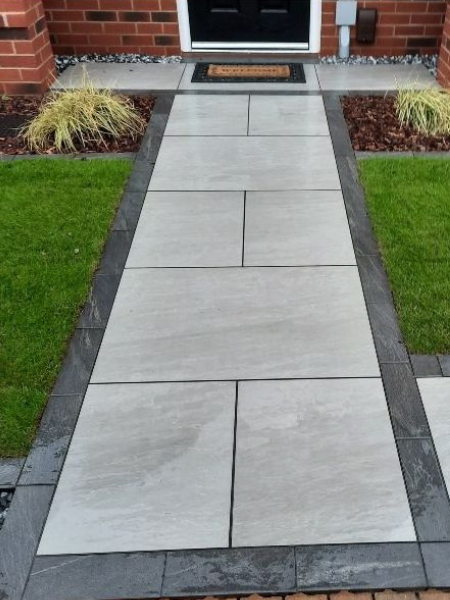
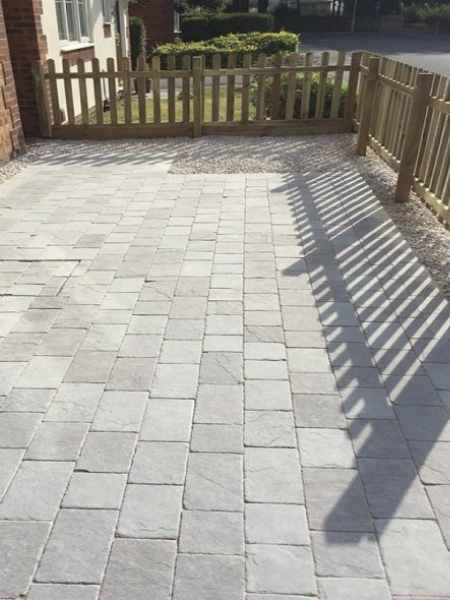
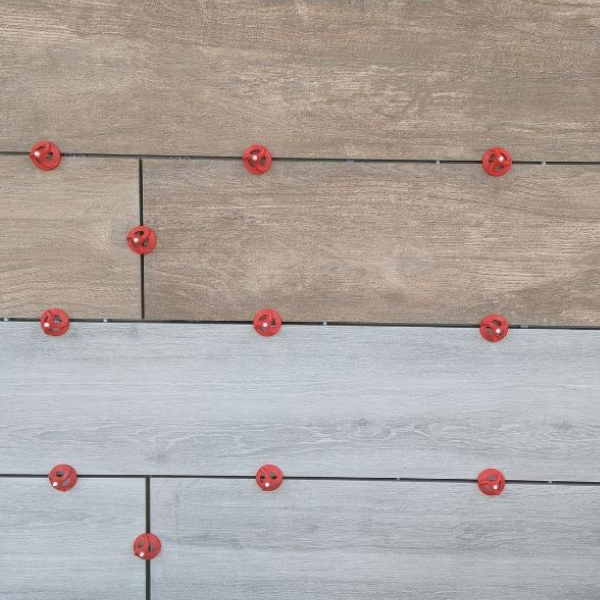
Porcelain block paving: prime the underside of each block with bonding slurry and place onto the mortar bed while both are fresh. Keep joints at around 5 mm, using spacers or careful alignment with string lines. Work from a straight datum line, laying in the chosen pattern (for example, stretcher bond or herringbone). Check levels and falls regularly so the surface keeps the planned gradient.
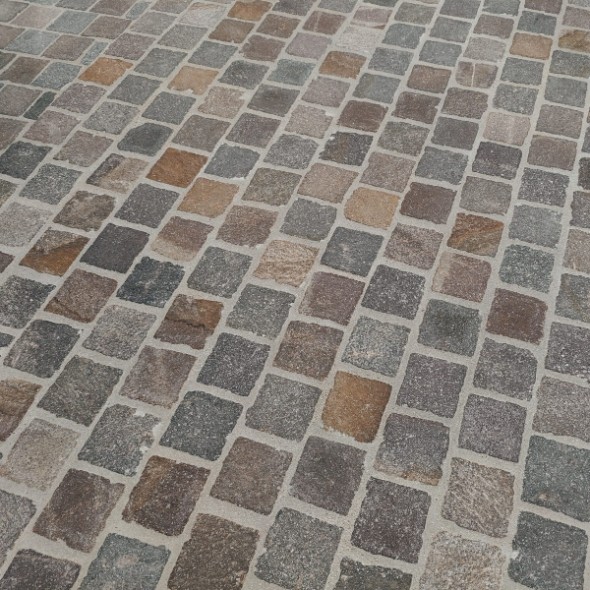
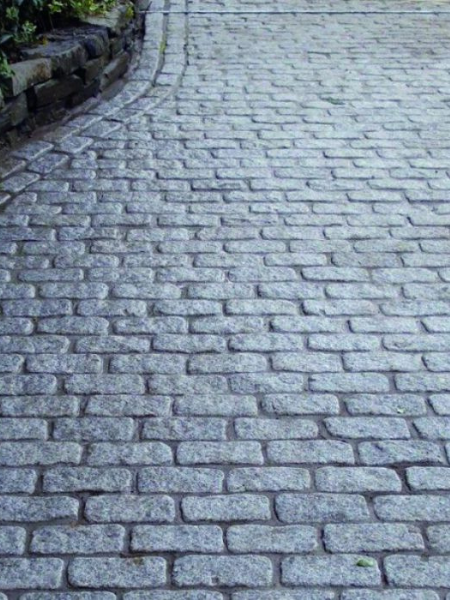
Natural-stone setts: place each sett onto the grit-sand bed and tap down with a mallet so the top lines up with the string lines. Lay the setts close together so the joints are narrow, typically ending up around 2–3 mm wide once sanded. Stagger bonds where possible to spread loads and improve the look of the finished surface. Keep checking lines and levels so the pattern stays straight and the surface remains even.
6Jointing and compaction
Porcelain block paving: once the bed has firmed and the surface is clean, fill the 5 mm joints with a suitable flowable grout or resin system. Work in sections, following the manufacturer’s instructions for mixing, spreading and cleaning. Use a roller or plate compactor fitted with a rubber mat at low amplitude to settle the blocks and help compact the joints without chipping the edges. Remove all surplus grout from the surface while it is still workable.
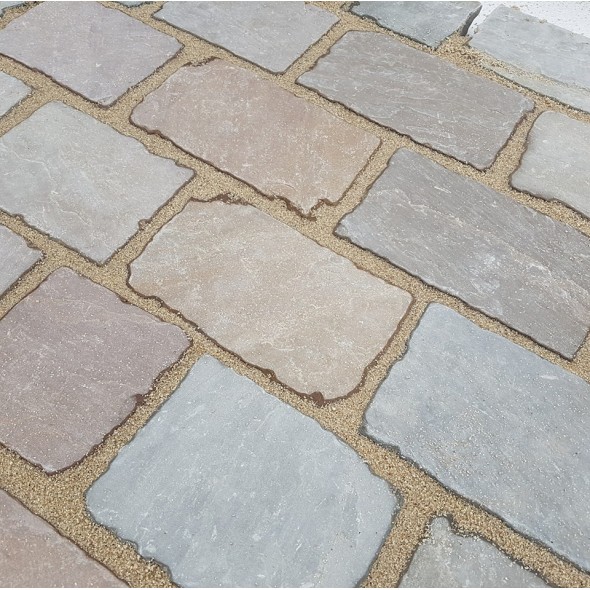
Natural-stone setts: make sure the surface is dry. Spread kiln-dried sand across the paving and brush it into all joints until they are fully filled. Compact the area with a vibrating plate that has a rubber mat fitted. This helps the sand settle and draws the setts into tight interlock. Top up the joints with more kiln-dried sand and repeat light compaction until joints stay full after vibration.
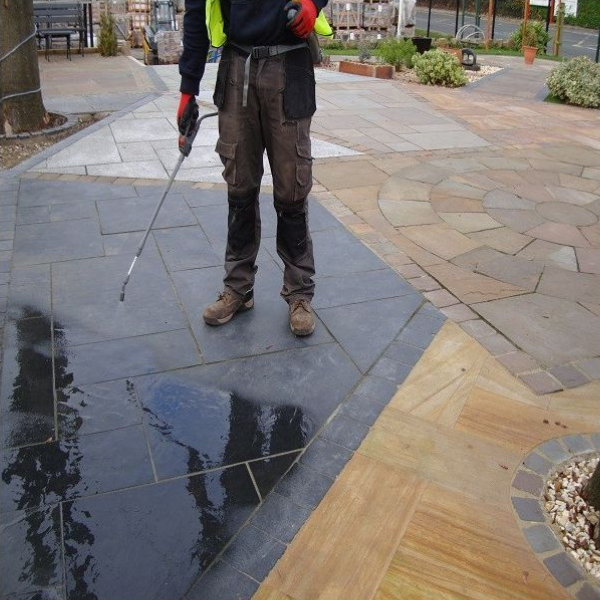
7Cleaning and after-care
Sweep the surface regularly so debris and leaves do not sit on the paving. For routine cleaning, rinse with clean water and use a soft brush where needed.
Avoid acid-based cleaners. These can bleach or etch natural stone, affect cement-based joints and damage the surface of porcelain blocks. Use pH-neutral patio cleaners or manufacturer-approved products and always test a small, inconspicuous area first.
Quick reference: key differences
Stage
Porcelain block paving
Natural-stone setts
Typical block thickness
Around 50 mm
Around 50 mm
Bedding
Bound mortar bed 35–40 mm, slurry-primed backs
Unbound grit-sand bed 25–40 mm compacted
Jointing
Flowable grout or resin, joints about 5 mm
Kiln-dried jointing sand, joints about 2–3 mm
Final compaction
Roller or plate compactor with rubber mat, low amplitude
Standard plate compactor with rubber mat over the finished surface